Getting Started
Conduit provides authentication for your application in a simple yet powerful way. Accounts can be created through email and password, or through a third party. Magic links are also supported for passwordless authentication.
Execution
- CLI
- Docker
# Option A: Just give me a barebones setup of the latest Conduit release (includes Authentication)
npx @conduitplatform/cli deploy

# Option B: I wish to bring up extra modules and perform some basic configuration
npx @conduitplatform/cli deploy --config
Prerequisites
# Set up the Container Network
docker network create conduit

# Start Redis
docker run -d --name conduit-redis \
              --network-alias redis \
              --network "conduit" \
              -h conduit-redis \
              -p 6379:6379 \
              docker.io/library/redis:latest

# Start Conduit
docker run -d --name conduit-core \
              --network-alias conduit \
              --network "conduit" \
              -h conduit-core \
              -p 55152:55152 -p 3030:3030 -p 3031:3031 \
              -e REDIS_HOST="conduit-redis" -e REDIS_PORT="6379" \
              ghcr.io/conduitplatform/conduit:latest

# Start MongoDB
docker run -d --name conduit-mongo \
              --network-alias mongo \
              --network "conduit" \
              -h conduit-mongo \
              -p 27017:27017 \
              docker.io/library/mongo:latest

# Start Database
docker run -d --name conduit-database \
              --network-alias database \
              --network "conduit" \
              -h conduit-database \
              -e REGISTER_NAME="true" -e CONDUIT_SERVER="conduit-core:55152" \
              -e DB_TYPE="mongodb" \
              -e DB_CONN_URI="mongodb://conduit-mongo:27017" \
              ghcr.io/conduitplatform/database:latest
# Start Router
docker run -d --name conduit-router \
              --network-alias router \
              --network "conduit" \
              -h conduit-router \
              -p 3000:3000 -p 3001:3001 \
              -e REGISTER_NAME="true" -e CONDUIT_SERVER="conduit-core:55152" \
              ghcr.io/conduitplatform/router:latest
docker run -d --name conduit-authentication \
              --network-alias authentication \
              --network "conduit" \
              -h conduit-authentication \
              -e REGISTER_NAME="true" -e CONDUIT_SERVER="conduit-core:55152" \
              ghcr.io/conduitplatform/authentication:latest
At this point, you should have a functional Authentication instance.
Now let's provide some basic information for starting using the Authentication module.
Create a user
A Conduit user is a representation of a person that can interact with the system.
A user can be created through the following request:
# Creates a new user using email/password.
# An optional invitation code can be provided to create a user with a specific role.
# A valid email must be given.

curl --location --request POST 'http://localhost:3000/authentication/local/new' \
--header 'Content-Type: application/json' \
--data-raw '{
        "email": "example@mail.com",
        "password": "pass"
      } '
The following response will be returned:
{
  "user": {
        "email": "example@mail.com",
        "active": true,
        "isVerified": false,
        "hasTwoFA": false,
        "createdAt": "2022-12-02T13:08:36.696Z",
        "updatedAt": "2022-12-02T13:08:36.696Z",
        "_id": "6389f8d445d164a022897845",
        "__v": 0
    }
}
We have now created our first user. Let's see how we can authenticate with it.
Login
# Login endpoint that can be used to authenticate.
# Tokens are returned according to configuration.

curl --location --request POST 'http://localhost:3000/authentication/local' \
--header 'Content-Type: application/json' \
--data-raw '{
        "email": "example@mail.com",
        "password": "pass"
      } '
The response will contain the access and refresh tokens that can be used to make authenticated requests:
{
    "accessToken": "eyJhbGciOiJIUzI1NiIsInR5cCI6IkpXVCJ9.eyJpZCI6IjYzODlmOGQ0NDVkMTY0YTAyMjg5Nzg0NSIsImF1dGhvcml6ZWQiOnRydWUsInN1ZG8iOnRydWUsImlhdCI6MTY2OTk4Njg0MiwiZXhwIjoxNjczNTg2ODQyfQ.VoSh7QXCFDoGBRYiv9qug3uWm7JX4jwb7-l05qWTVOs",
    "refreshToken": "aDYLqHPw6yK+GTNsWApA9BYfpSkVIRvA+cVtPw2DPQ3CaRCfEPCHo4xCsENHqzdu7e8ZrARwc/P58UyY95yn4Q=="
}
We can now use the access token to make authenticated requests.
Let's make an example. We will use the access token to make a logout request.
curl --location --request POST 'http://localhost:3000/authentication/logout' \
--header 'Content-Type: application/json' \
--header 'Accept: application/json' \
--header 'Authorization: Bearer eyJhbGciOiJIUzI1NiIsInR5cCI6IkpXVCJ9.eyJpZCI6IjYzNjNjZGNkMDhkNTU2MDk1NmM4MGQ4OSIsImlhdCI6MTY2OTk4MTIwOSwiZXhwIjoxNjcwMDUzMjA5fQ.sxIQDgJv5zzZo8PV6logbvyLO0WbXgES9EWEtUo_kEg' \
}'
Congratulations! The user is now successfully logged out.
Using the Admin Panel
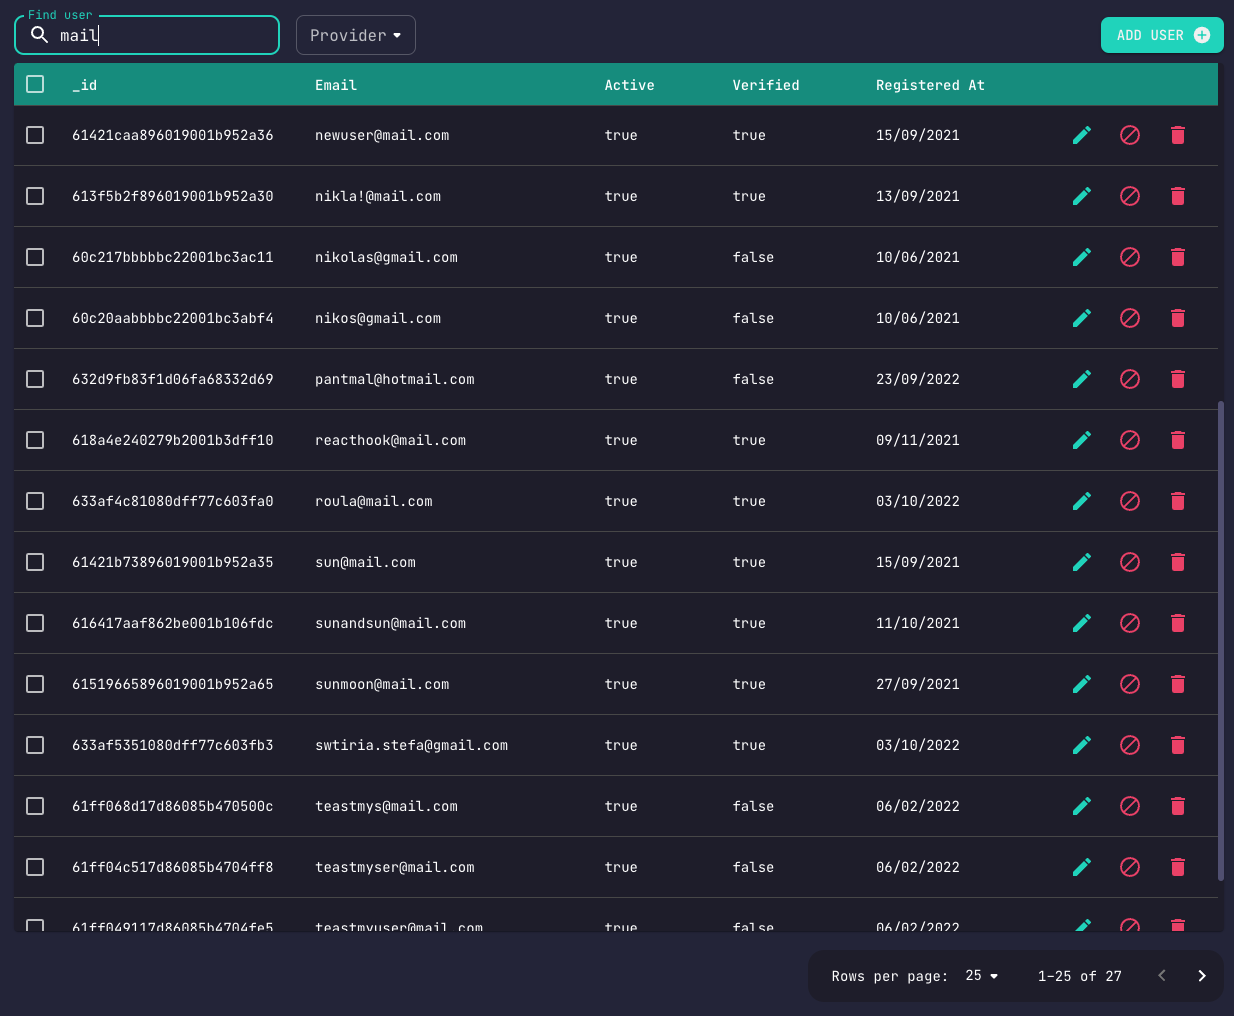
The Admin Panel can be used to manage users.
Through the Admin Panel, you can create, update, delete and block/unblock users.
The Users tab is where User manipulation takes place.
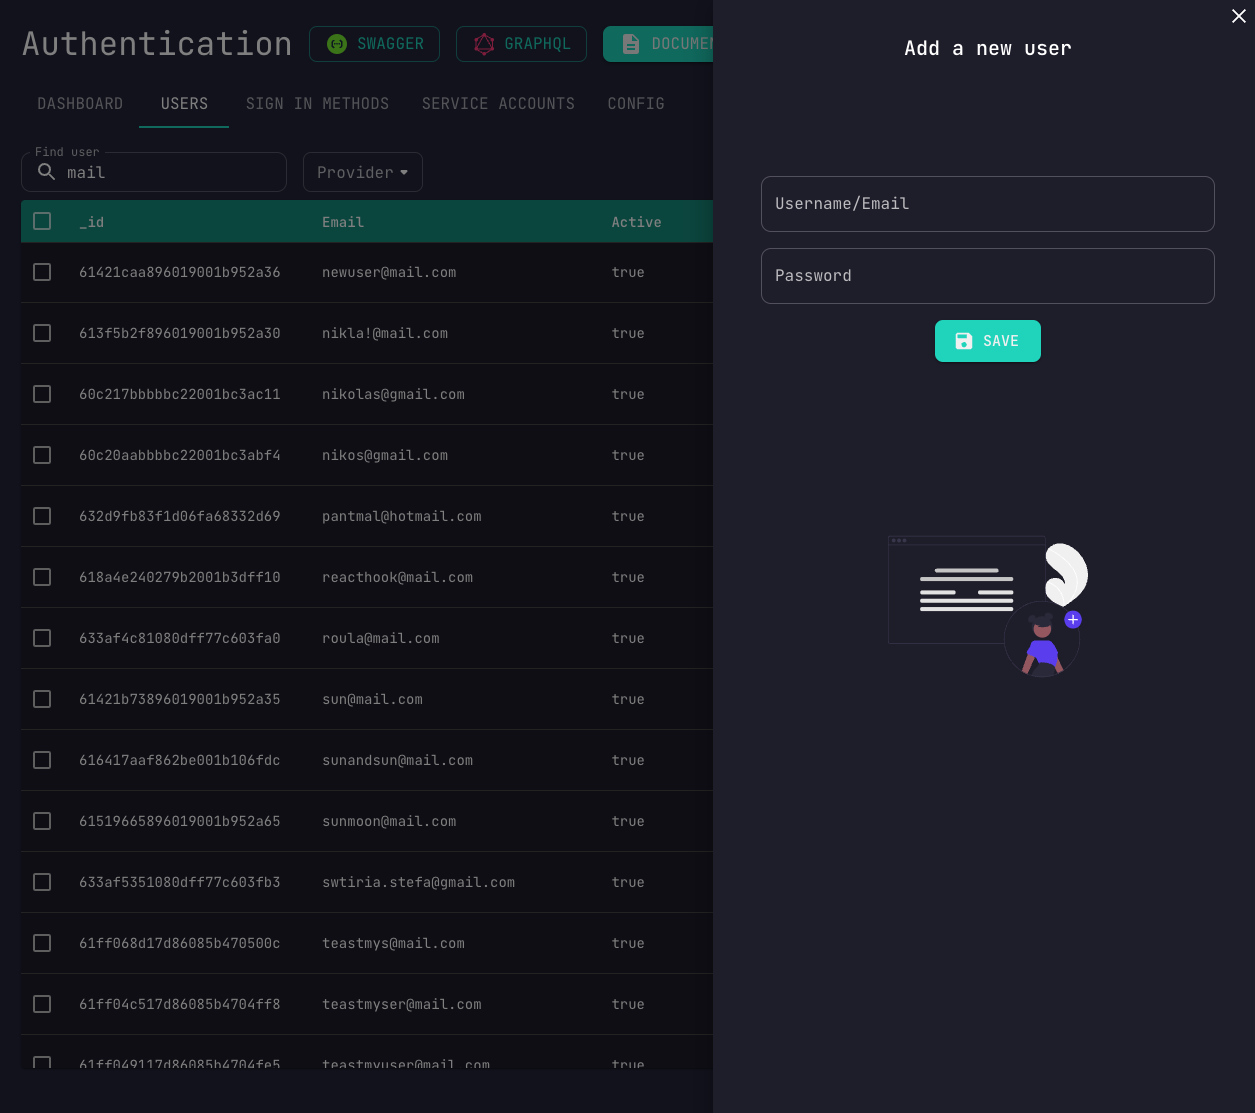
Create
A basic operation you may want to perform is creating a user.
Edit
By clicking the corresponding edit button, you'll see the edit pop-up window.
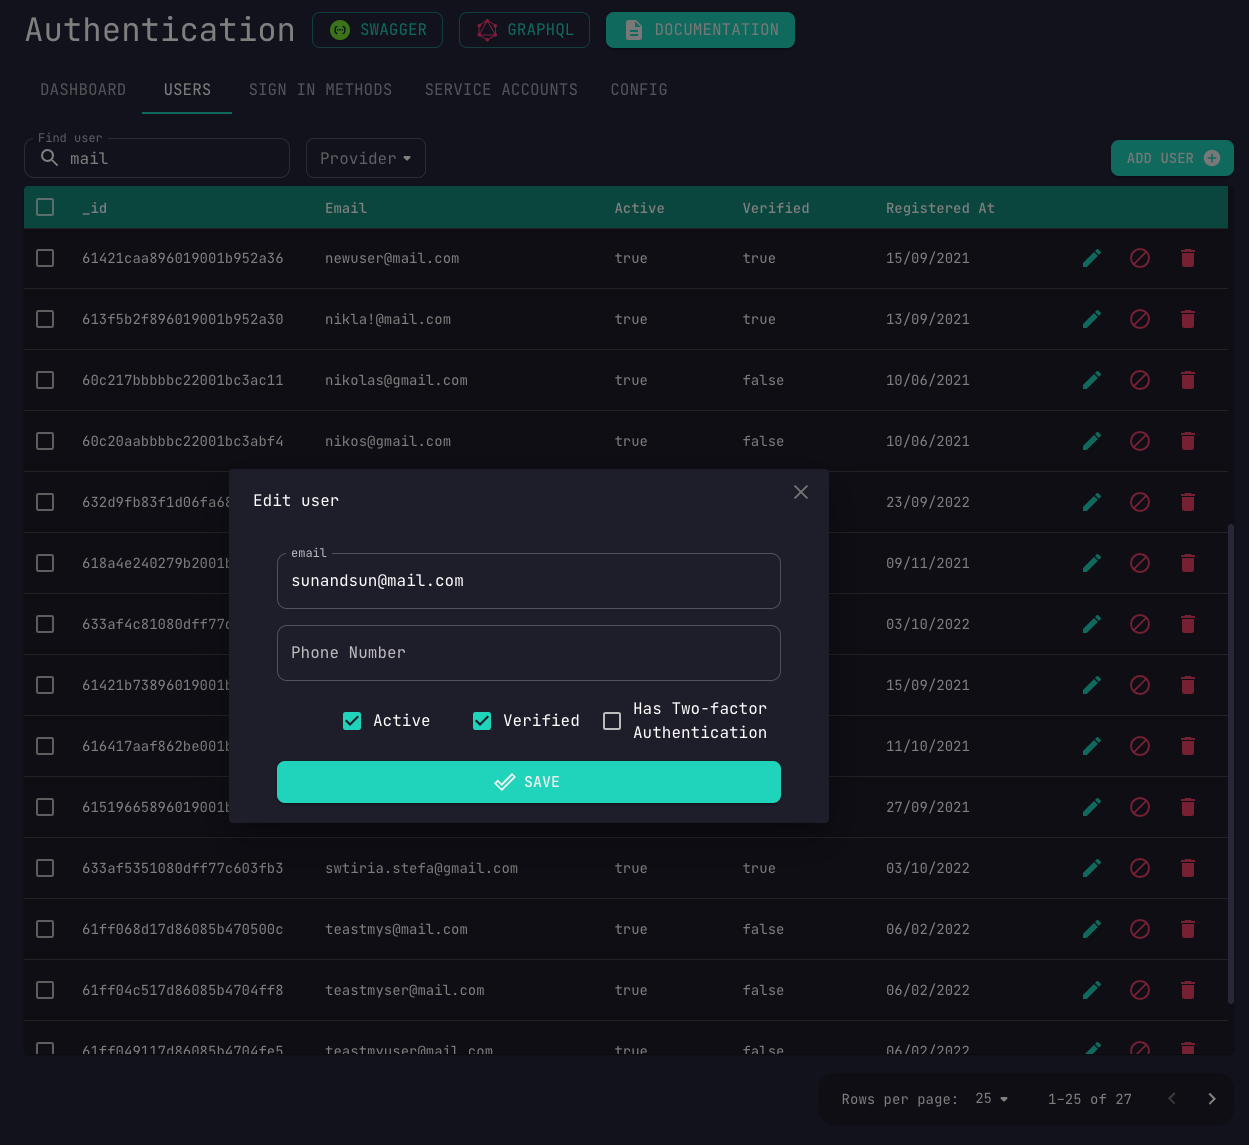
You can either change your email or add you phone number.
In case that you want to enable 2FA, fill-in the phone field and tick the corresponding box.
Delete
In order to delete multiple users at once, select the users that you want to delete and click the corresponding button.
Block / Unblock
You can block or unblock a single or multiple users by clicking the corresponding button.